
Blooming Rose Watercolour Tutorial
Roses are some of the most stunning flowers and come in such a huge range of colours there is one to suit every occasion. Associated with love, beauty, royalty, romance and mysticism and are purportedly offer solace, hope and comfort. I get lots of questions about painting roses and have to admit I used to find them challenging until I made a concerted effort a couple of years ago to practice them over and over again. From this I developed my own way of painting them which I am going to share here. The secret is to not concentrate too much on details but try to catch the general shapes and tones to create a loose but believable bloom. With this aim in mind this tutorial does not use a preliminary sketch we just jump straight in with paint. This keeps us loose – you’ll be surprised by your results.
Materials
140 lb Fabriano Artistico Hot Pressed paper
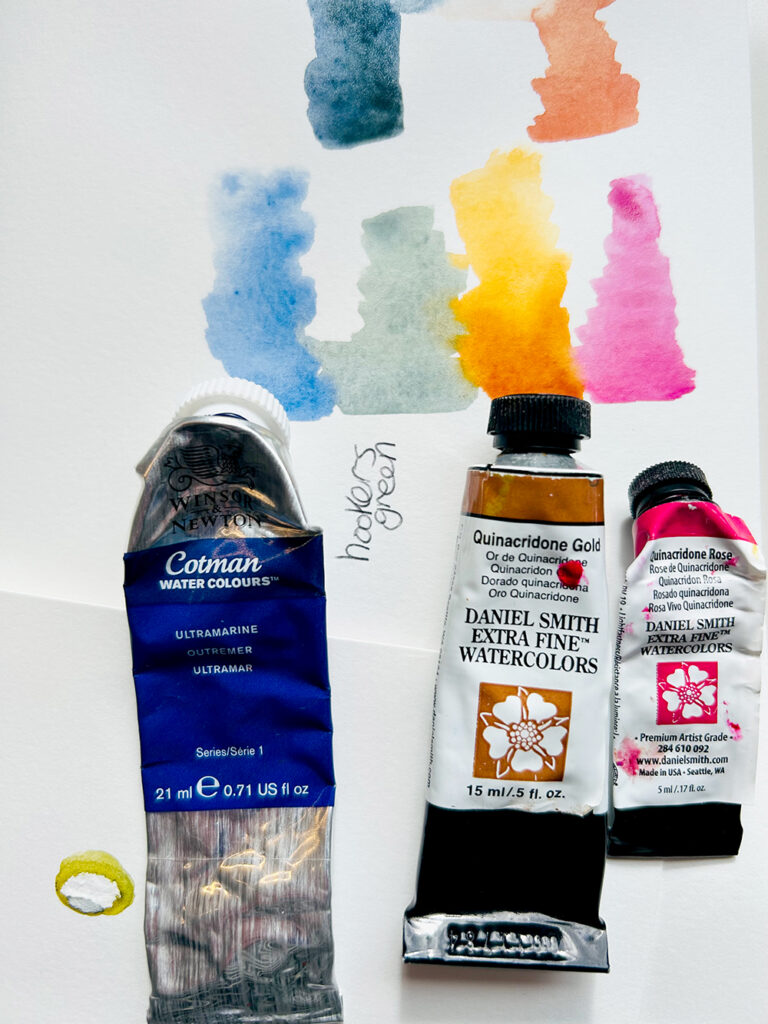
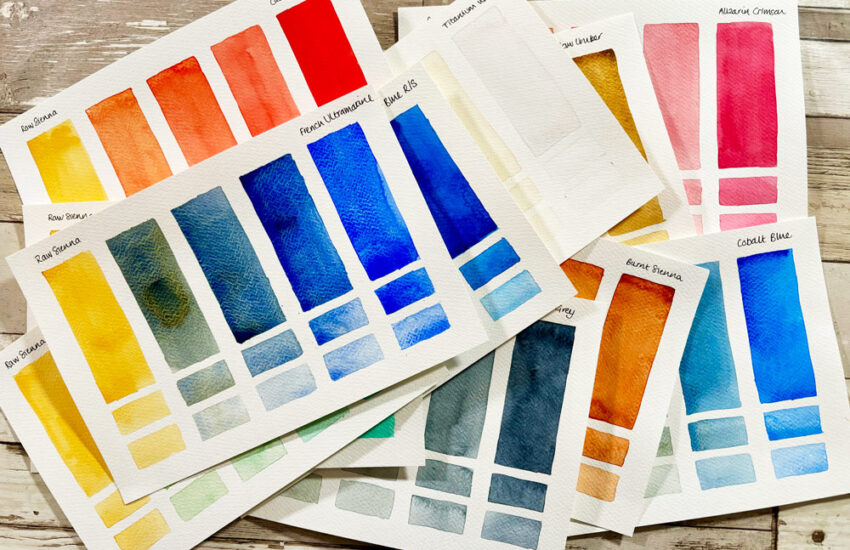
Winsor & Newton Cotman – Ultramarine Blue
Daniel Smith – Hookers Green, Quinacridone Gold, Quinacridone Rose
Step 1
As with many of my tutorials we will be using the wet in wet technique, which involves adding more colour when the paint remains wet. It works particularly well in this piece as it allows the colours to mingle without getting muddy and creates interest.
So pick up your brushes and let’s paint a rose, or two or three – as many as you like.
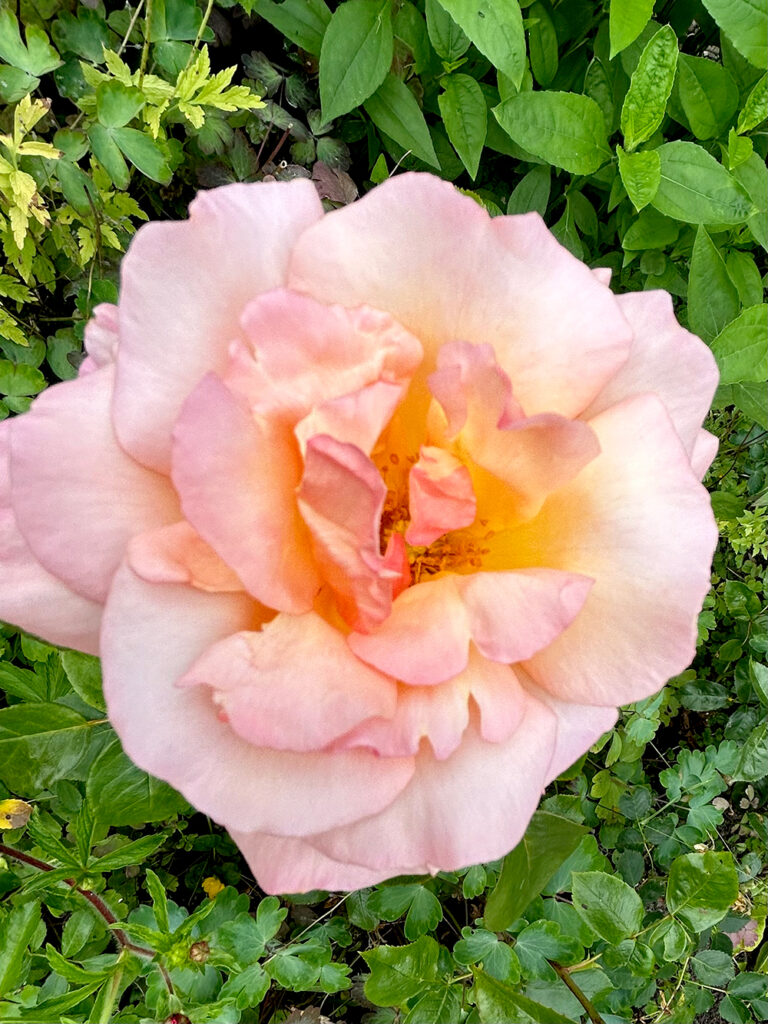
I’m using this photo of a rose in my garden. In summer the bees love them. So do the greenflies and caterpillars but I don’t mind and never spray them. The greenfly are food for the ladybirds and the caterpillars turn into stunning butterflies later in the summer so I think a few munched leaves are a small price to pay. I love the colours in this rose but haven’t copied them exactly, just used them as a guide. I also like the fact that I can see the centre of the rose which adds a little interest and the opportunity to use a different technique.
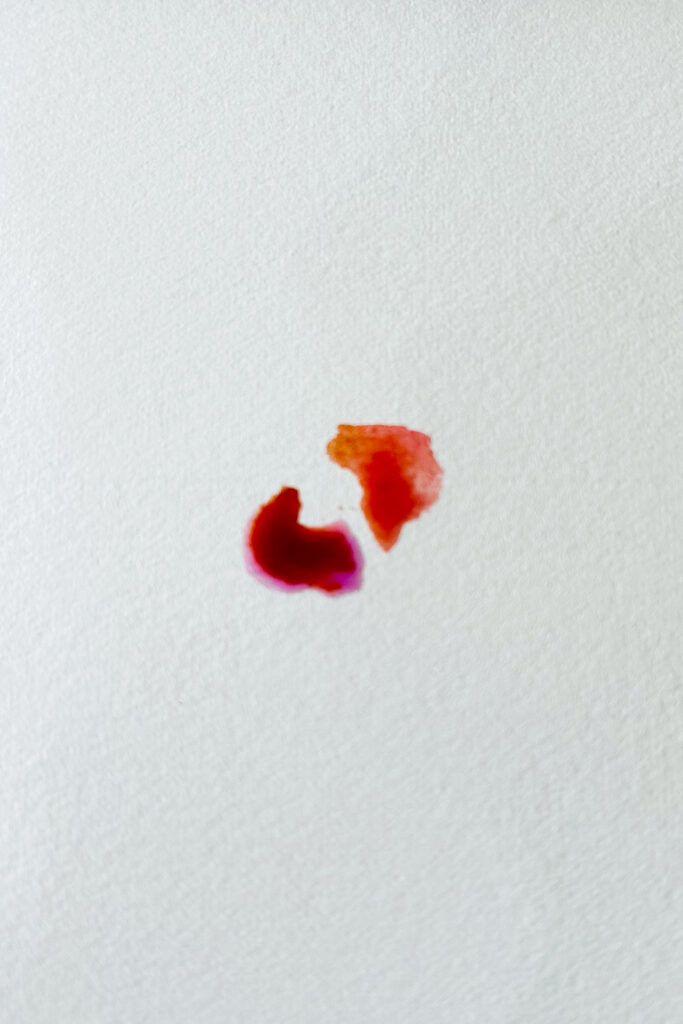
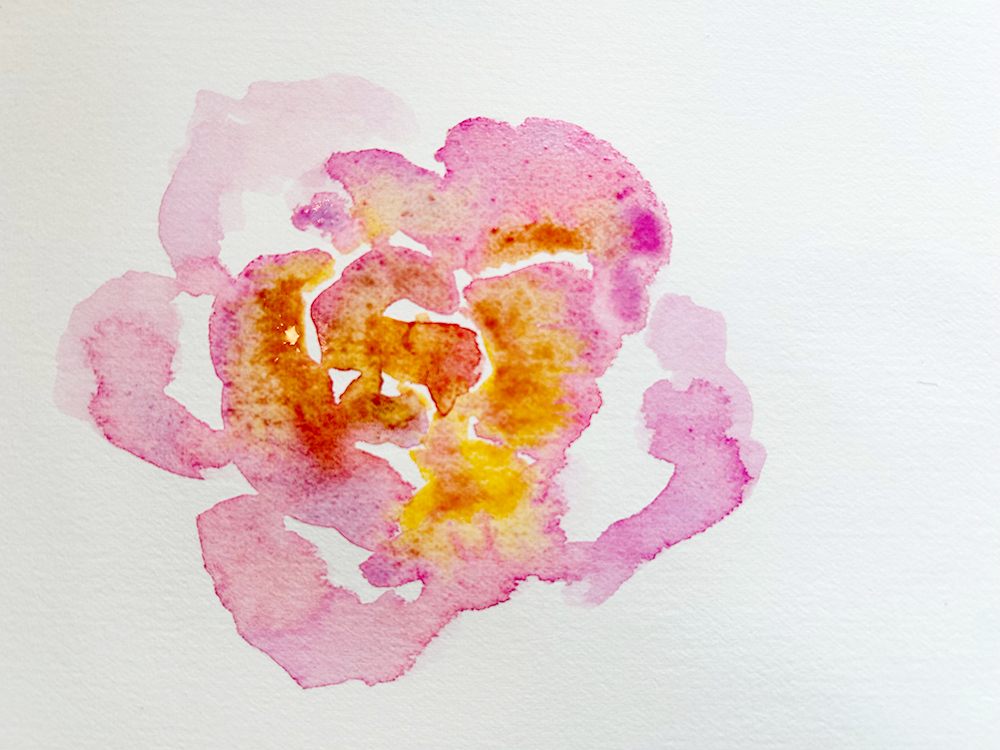
Mix some of the Quinacridone Gold and Quinacridone Rose to create a pinky orange colour and paint in the dark centre area of the rose. This is our starting point and all the other petals will come from this centre.
Step 2
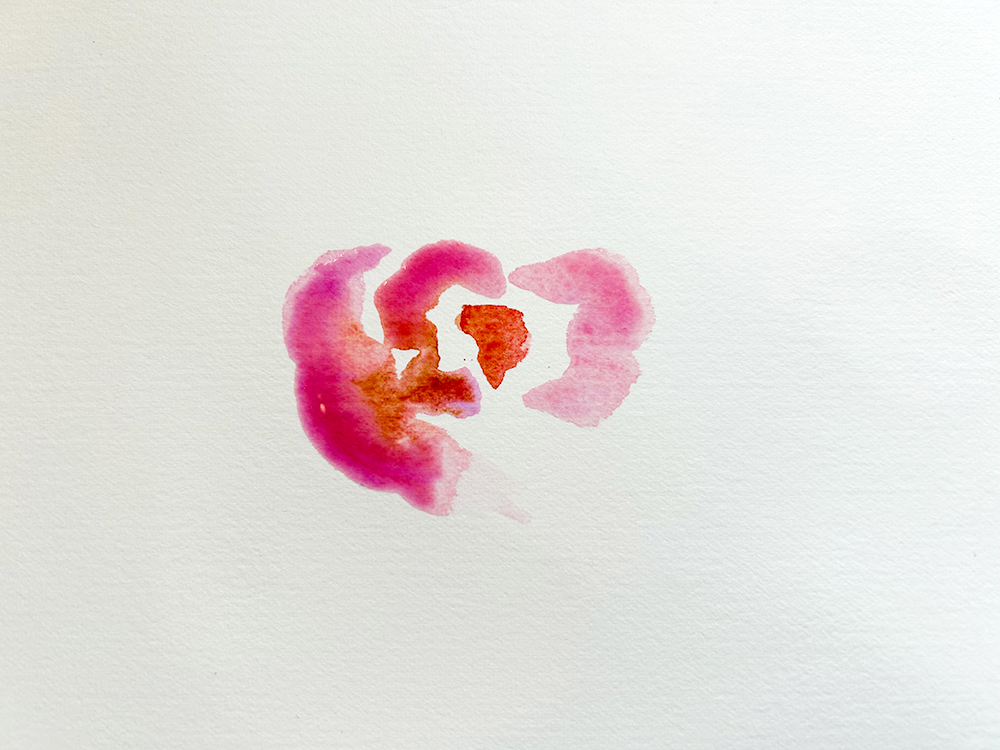
Whilst the centre is still wet use the same paint on your brush to add more petals.
Look at the reference photo and try to concentrate on where the darker parts are towards the base of each petal.
A common mistake is to make the petals rounded C shapes but rose petals do not look like this they are more irregular. Really look at the photo to get an idea of how the edges of the petals look.
Leave white areas between the layers of petals – these represent where the light catches the outside edges of the petals.
Allow each petal to touch previous petals in some areas to allow the wet paint to mingle.
Just let the paint mingle into the wet yellow paint, you will get some lovely effects. Do not be tempted to try and fiddle with your brush or to control where the paint is going. Let go of the control.
Step 3
Continue to add more petals in the same way, use the body of your brush to make the petals bigger the further out they get and don’t be frightened to allow the wet paint to mix and create some interesting patterns.
Once you have all your petals in you can add some stronger paint either the Quinacridone Rose, the Quinacridone Gold or a mix of the two. Again, don’t be tempted to fiddle let the paint blend on its own and work its magic.
Step 4
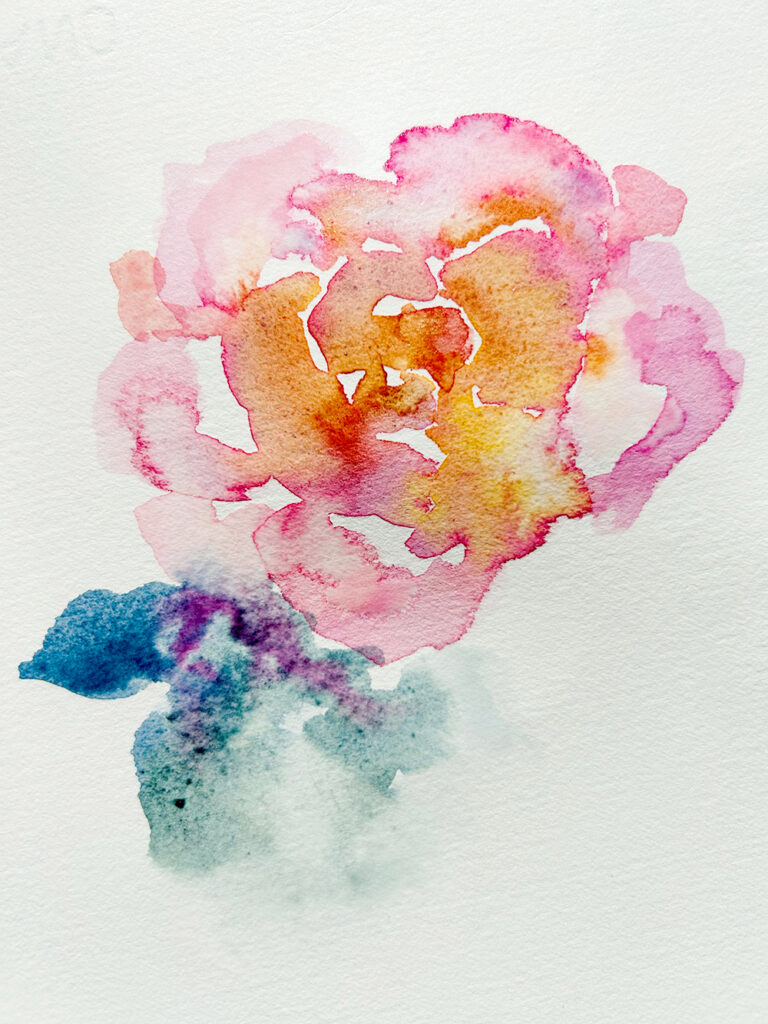
Whilst the flower is drying use the Hookers Green to roughly paint in some leafy areas around the bottom edge of the flower. Suggest leaves by creating some pointed leafy shapes with your brush. Allow the pink and green to merge in some areas to create interest. Whilst the green paint is still wet drop in some blue and allow it to mix with the green.
Step 5
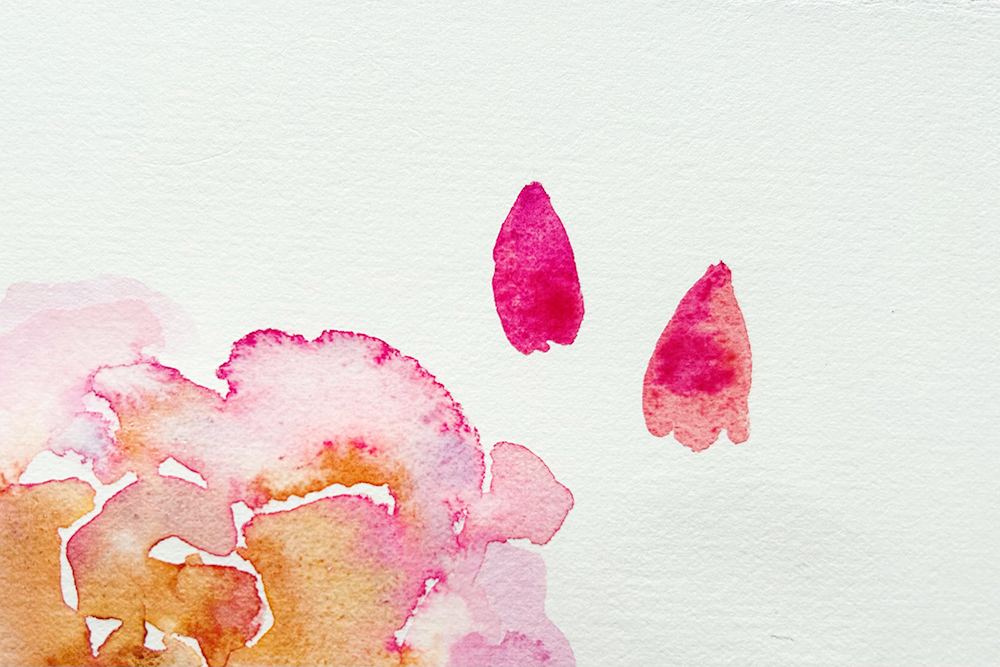
If you like you can also use the Quinacridone Rose and Quinacridone Gold mixture to paint two simple bud shapes at the side of the main flower. Paint the green underneath whilst the paint is still wet and add details and stems as you prefer.
Step 6
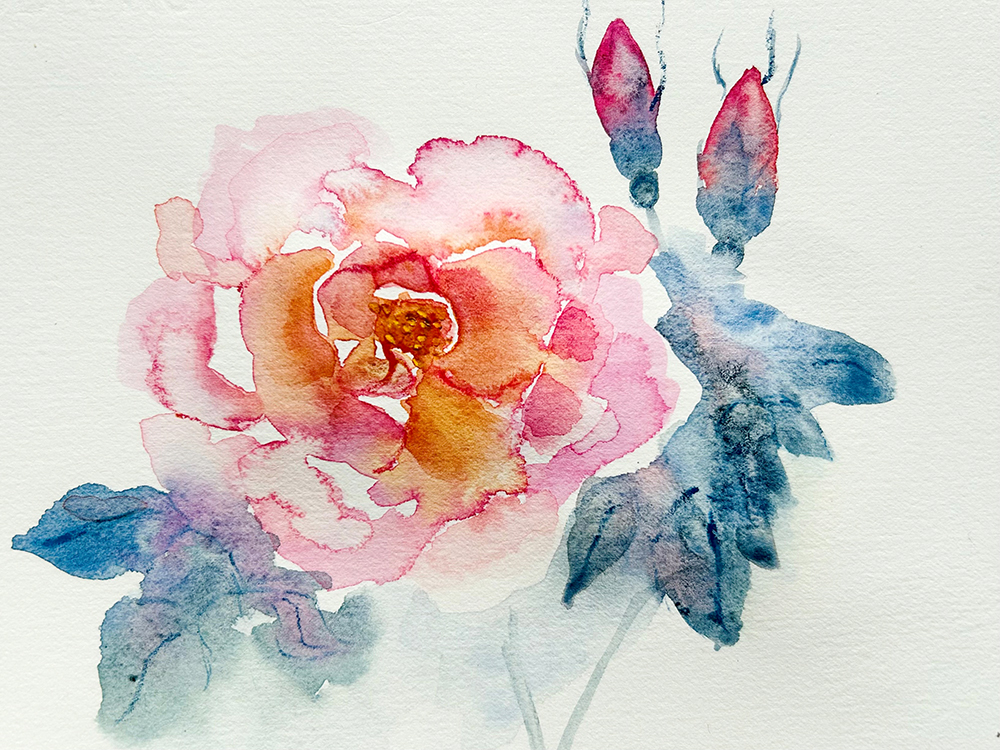
This is the point where you can step back and assess if your image needs any more detail. I decided to add some little details to the centre of the rose. For this I used a yellow watercolour pencil. As always err on the side of stopping before you overwork your painting, you can always come back to it later.
And there you have it – a beautiful rose. Of course you can paint them in any colours you like, I’d love to see what you create and hear any feedback. Regards Joe x


Love that you share the image of the paint tube’s and the various steps along the process. Your use of color is freeing. Im anxious to try this. Thank you!!!